Really? What's stopping everyone else from following me in? Well maybe they're afraid of monsters which I can't blame them.
And here's our first puzzle. Mind you, I see a shiny door to my left so that's my first priority.
All in all not too hard, but a lot of steps. Which is now going to be par for the course for the mansion. But now, shiny door!
There is no good way to do this besides brute force and luck. I'm going to spare you the several attempts at hitting buttons and realizing it doesn't work and give you the answer. Sadly the last couple shots before the solution got eaten, but at that point it's fairly easy to guess what I did. And guessing is basically what happened.
Ta-da! All that work for a safe! OK the safe actually has evidence in it. The evidence being a pirated copy of Jolly Roger. Alphonse is a dick.
Oh come now, did you forget the gypsy rhyme? She told us
how she baked a portal there was a secret in the baths. And this is the baths. Besides, the game wouldn't make us go crazy just for a mere safe.
We get to go crazy for two safes. Oh and that gem. So I tried to move the boxes for that gem. I screwed up, so I left the room and came back in to get a fresh perspective.
And the boxes magically disappeared. Giving me free access to the gem. While this makes my life much easier, I am SO confused.
I decide to take care of these items while I'm still near the entrance.
And do a little shopping.
WHARRGARBLE. Yeah because I didn't go through the upper door I had to do this puzzle again. So scroll up and pretend I did that faster.
This doesn't look too bad.
She said right before doing it backwards.
There we go. Let's get cracking I sense something big is in the next room.
TOO BIG
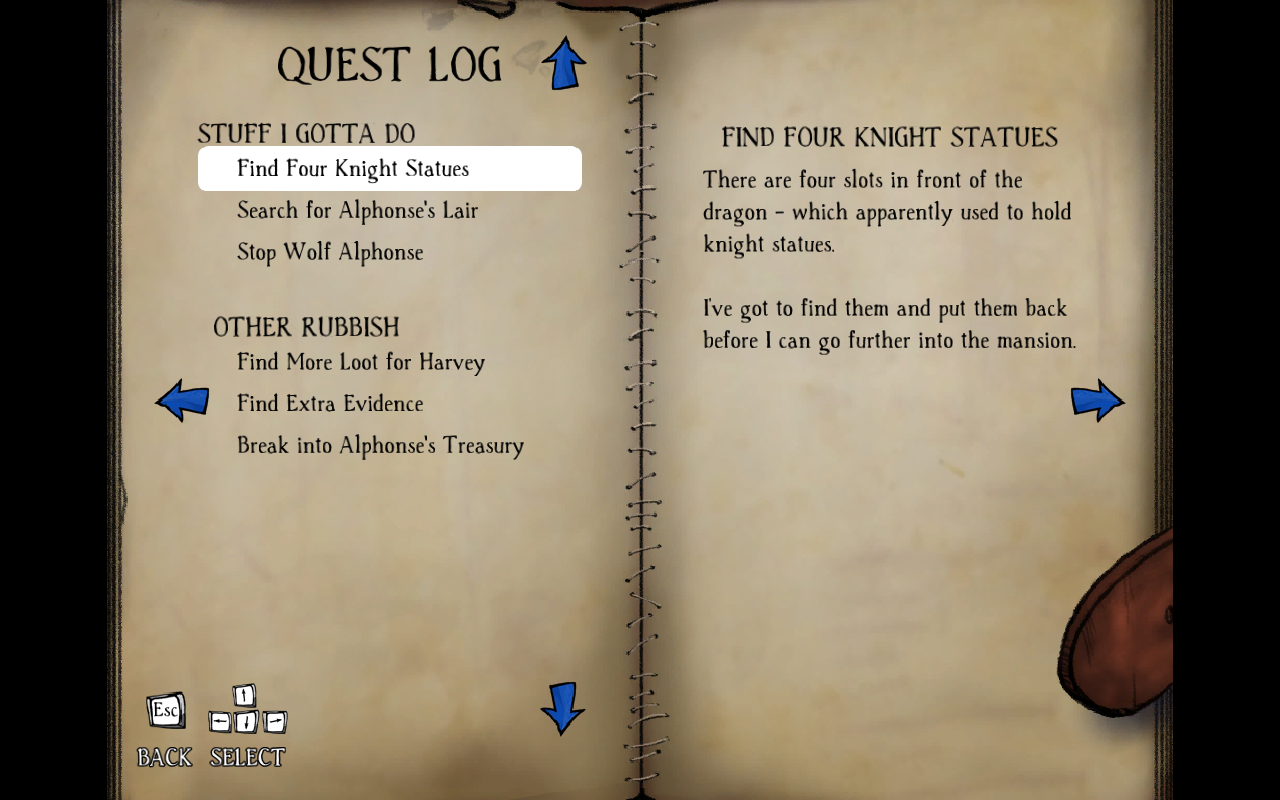
So our fetch quest of the map is find four knights. The first is in the upper left corner of the dragon room.
Hooray something relatively straightforward.
And everything from here is easy. Next!
Before doing this puzzle, let's do another tech door.
This puzzle is a lot of moving. A lot of moving. And that metal crate will mock you.
Boxes are evil.
This one is fairly easy, so I'm going to skip it.
And the solution to the puzzle afterward.
We get to the room that connects to City Hall. And now, backwards!
Alright, time to play Scooch the Box.
This isn't right. You have to scooch the battery the long way and scooch the box using the short way.
Ta-da!
Scooch the Box: Round 2.
There we go.
Easy.
Yay a knight statue! And backtrack!
To the right of the Dragon room. It starts off nice.
NOBODY LIKES YOU METAL BOXES.
Sorry for the missing steps. I don't know what happened. Probably the head cold. Yeah. Doing puzzles with a cold/cold medicine in my system was fun.
Yay another fancy pants door!
We'll skip this round of Scooch the Box.
This puzzle has a single deceptive element that can fuck everything up.
That stupid panel. Lucas is now trapped. Redo.
There much better.
Buh.
We can get into the red-handed door thanks to Harvey. Let's steal things!
Another round of Scooch the Box. But this round is very special.
DIE BOX DIE.
And then you can easily solve it.
This one is also fairly easy. It's just a matter of the proper button/box/laser combo and is very straightforward.
Alphonse's priority of security is very odd.
This is one of our goals. We wan the three paintings at the end to spruce up the apartment. The trick is to drag both boxes to the middle, do the top then the bottom button.
Another get Box A to Button B to get Battery C to Station D. Keep the battery up there as you need it on the button for a certain part.
That vase is stealable. However, we need to be a werewolf to steal that one.
Fun Fact: Lasers destroy boxes. And those lasers are sneaky bastards. Don't do that and you know what you must do.
Well let's head back and head through the right door.
GOOD GOD WHY.
focusonthesafefocusonthesafefocusonthesafe
CRUSH KILL DESTROY
SWAG
And now for story time.
I did this part of MacGuffin's Curse across 2 days. You've been seeing Day 2 for a little bit now.
I wanted to finish it quickly as I went to Interventioncon and wanted to have this done before I left so I didn't have to rush through it on Monday.
I had a head cold hit me full force. The cold medicine wasn't working, it was just making my brain foggy. But dammit, I was determined.
I went back and forth between this puzzle and another one. I had the game crash a couple times. Each time I came back I thought I had a moment of brilliance. I was wrong. Nothing worked. However, something inside me knew this was the last puzzle before the amulet. So tired, stuffed up, I decided to do the most logical thing: Suicide!
And you know what?
I have no regrets.
That's right, that many lasers for a cheap fake. Giving this to Harvey just ticks him off but he got what he asked for. I also take that moment to dump the evidence on Judy.
Back to our regularly scheduled puzzles.
And back to this puzzle.
There we go! Much nicer after that hassle.
And here's the other puzzle that gave me trouble. Mostly because if you move the metal box first you will screw up. Also, you will always need the metal box no matter what lies your brain tells you.
Move the battery out first. Then get these objects on their respective buttons. This will allow you to move the safe out. Be careful as you will have to move the metal box but don't put it where you can't push it back onto the button.
Move the battery out, put the safe there, and then fiddle with the metal box more.
Woo! Made it!
And a knight statue!
Ah buttons. So many buttons.
Lots of walking around on this one. This is the point where my mind wandered and realized this is why Lucas is so thin.
Have fun figuring out how many laps Lucas did. Running into the unlocked room gets us our last knight.
OK I will give Alphonse the fact that this is really neat.
An easy puzzle to finish us off.
BOSS FIGHT!
The goal is to get him to us so we can catch him in the moonlight. And we're taunting him by talking about Anna. Oh boy, potentially dangerous and dumb.
Don't worry, the dumb is everywhere. Especially in Alphonse.
Have to go with Lucas here bud. If you never saw her laugh you were a terrible husband.
I'm assuming that look on Lucas' face is him going "Maybe this was a bad plan."
I doubt that, but what floats your boat, Alphie.
He's really mad now. Cue the Bad Plan Face.
That's not a cash present.
PUPPY! And that's the end.
Or not.
Yes this is the fun kind of game where you can continue playing after the credits.
The people you help appear in the credits. The one thing I want to point out is Strump naming his next target: Lucas MacGuffin. WHICH GOES BACK ON OUR DEAL STRUMP.
hehehehehe
MOAR FILES
Yeah they're fairly easy to get I won't bore you.
Why does Harvey have our file?
What?
Oh you had our other file. I think I'd rather have Captain Drooly have it than Harvey.
Granny needs us to pick up some medicine. And apparently she has a liver of steel.
She needs us to give a good luck charm to the museum guard. Will do, he needs it.
Grim needed us to fetch his Crow's ledger. So we're official now.
File Get!
File for our friend...not from Feyre. STOP FUELING MY CRACK THEORIES YOU DON'T EVEN HAVE RED HAIR.
He dumbass, don't break our house, k thanx.
Go outside to where Strump's van used to be and find a diggy spot with his file.
Granny gives us her file after she gets her juice.
And clearing out Harvey's shop gives us his file. But wait, there's one more loose end: we still have a walkie-talkie that connects directly to Strump.
Damn he's good.